PXE是一套用于网络引导的环境,它可以通过网卡,使pxe客户端(往往是一台PC/服务器)能从服务器获取可引导的系统,借此运行操作系统(应用实例:无盘环境)或启动一个内核并初始化网络预安装环境(应用实例:pxe远程部署系统)。本文将演示如何部署一台PXE服务器用于Linux操作系统远程安装。
一、服务器环境:
1. 软件环境:
- 操作系统:CentOS 7
- tftp+dhcp服务:dnsmasq
- 文件发布:nfs
- 服务器:192.168.10.254
2. 核心组件:
- DHCP服务,用于IP地址自动分配,PXE客户端只有获得IP地址以后,才能与服务器通信,此外还会返回pxelinux.0文件以及TFTP服务器地址;
- TFTP服务,用于系统内核以及预启动环境所需文件的下发,PXE客户端借此方可进行引导;
- 由于TFTP只会下发预安装环境,而不包含操作系统安装时所需要的安装文件,因此还需要再配置一个文件服务作为安装源(NFS、HTTP、SAMBA均可,本例中配置的是NFS安装源)。因为远程安装的目的就是抛弃传统的光盘安装模式,所以尽管Linux安装时可以选择本地磁盘或者光盘作为安装源,但在PXE部署时,并不会选择这两种本地介质的安装源。
3. 本文将演示三种操作系统的安装:
- 基于kickstart的无人值守CentOS网络安装
- Ubuntu 18.04通过Ubiquity安装
- Kali通过debian-installer、preseeding和网络镜像源进行无人值守安装
* ubuntu和kali均属于debian家族,都能用debian-installer安装,指定安装源时,可以用公共镜像,也可以自建镜像,但是自建镜像站的成本非常高,如非必要,一般不会采用这种方式。
二、目录和文件准备
1. 系统安装源文件:
/opt/tftp/disks,为centos和ubuntu创建目录,并将各系统安装光盘里所有文件拷到对应目录中(kali使用网络源,无需准备本地安装文件)。
[root@xin-pc tftp]# ls /opt/tftp/disks/
centos7  ubuntu1804
2. pxe相关文件和目录:
- 工作目录设置为/opt/tftp,引导菜单文件为/opt/tftp/pxelinux.cfg/default
- 安装syslinux,并将/usr/share/syslinux目录下所有文件拷贝到/opt/tftp
- 编辑引导菜单pxelinux.cfg/default文件
mkdir -p /opt/tftp/pxelinux.cfg
yum install syslinux
cp -r /usr/share/syslinux/* /opt/tftp
# vi /opt/tftp/pxelinux.cfg/default
default menu.c32
timeout 50
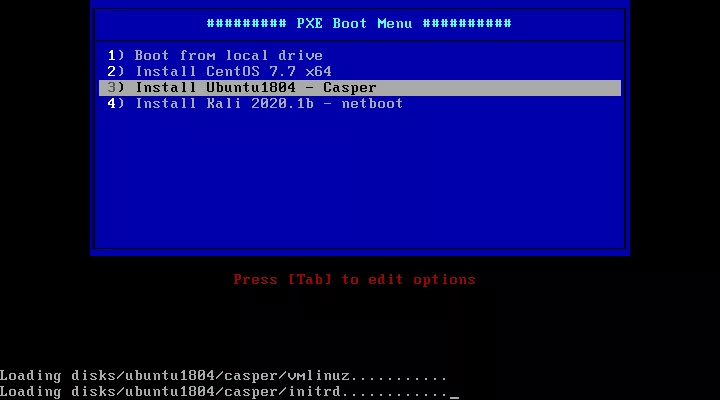
menu title ######### PXE Boot Menu ##########
label 1
menu label ^1) Boot from local drive
localboot
label 2
menu label ^2) Install CentOS 7.7 x64
kernel disks/centos7/images/pxeboot/vmlinuz
append initrd=disks/centos7/images/pxeboot/initrd.img method=nfs:192.168.10.254:/opt/tftp/disks/centos7 devfs=nomount ks=nfs:192.168.10.254:/opt/tftp/centos7-ks.cfg
label 3
menu label ^3) Install Ubuntu1804 - Casper
kernel disks/ubuntu1804/casper/vmlinuz
#append initrd=disks/ubuntu1804/casper/initrd url=tftp://192.168.10.254/ubuntu-preseed.cfg console-setup/ask_detect=false kbd-chooser/method=us keyboard-configuration/modelcode=SKIP keyboard-configuration/layout=USA pkgsel/include=openssh-server keyboard-configuration/variant=USA debconf/frontend=noninteractive boot=casper automatic-ubiquity country=CN language=en locale=zh_CN.UTF-8 auto netboot=nfs nfsroot=192.168.10.254:/opt/tftp/disks/ubuntu1804
append initrd=disks/ubuntu1804/casper/initrd vga=788 console-setup/ask_detect=false kbd-chooser/method=us keyboard-configuration/modelcode=SKIP netcfg/get_hostname=hostnetcfg netcfg/get_domain= partman-auto/disk=/dev/sda partman-auto/choose_recipe=atomic partman-auto/method=regular partman-lvm/device_remove_lvm=true partman-md/device_remove_md=true partman-partitioning/confirm_write_new_label=true partman/choose_partition=finish partman/confirm=true partman-lvm/confirm_nooverwrite=true time/zone=Asia/Shanghai passwd/user-fullname=usr passwd/username=usr passwd/user-password=123456 passwd/user-password-again=123456 keyboard-configuration/layout=USA pkgsel/include=openssh-server keyboard-configuration/variant=USA debconf/frontend=noninteractive boot=casper automatic-ubiquity country=CN language=en locale=zh_CN.UTF-8 auto netboot=nfs nfsroot=192.168.10.254:/opt/tftp/disks/ubuntu1804
label 4
menu label ^4) Install Kali 2020.1b - netboot
kernel kali-rolling-vmlinuz
append initrd=kali-rolling-initrd.gz auto country=CN language=en console-setup/layoutcode=us locale=en_US.UTF-8 keymap=us hostname=kali domain= interface=auto url=tftp://192.168.10.254/kali-preseed.cfg netcfg/get_nameservers=114.114.114.114* 关于default菜单有一些需要注意的地方:
- 这一份default文件的第一个入口是从本地硬盘启动,目的是使得用户误入或希望取消系统安装时,能在无操作时直接进入硬盘启动而放弃本次安装,安全第一;
- 出于安全考虑,更进一步地,可以将本服务器与正常生产/办公环境隔离开,为安装系统专门保留一个网段;
- 文件中使用了无人值守文件,在文件里写入安装过程中所需的配置,即可自动安装系统,避免人工干预。
3. 下载kali的debian-installer到tftp目录并重命名:
wget http://mirrors.aliyun.com/kali/dists/kali-rolling/main/installer-amd64/current/images/netboot/debian-installer/amd64/linux -O kali-rolling-vmlinuz
wget http://mirrors.aliyun.com/kali/dists/kali-rolling/main/installer-amd64/current/images/netboot/debian-installer/amd64/initrd.gz -O kali-rolling-initrd.gz
三、dnsmasq配置dhcp和tftp
本例使用dnsmasq提供DHCP服务和TFTP(这两个服务也可以借助dhcpd、xinetd 和tftp来实现,另外dnsmasq无需开启dns服务)。
# 配置文件 /etc/dnsmasq.conf
# Listen on this specific port instead of the standard DNS port
# (53). Setting this to zero completely disables DNS function,
# leaving only DHCP and/or TFTP.
port=0
dhcp-range=192.168.10.151,192.168.10.200,12h
dhcp-option=3,192.168.10.2
dhcp-option=option:dns-server,114.114.114.114
dhcp-boot=pxelinux.0
enable-tftp
tftp-root=/opt/tftp四、引导参数和无人值守
0. 引导命令
- pxelinux.cfg/default的结构很简单,每个标签对应一个菜单项入口,用kernel命令指定vmlinuz内核文件所在位置,然后用append命令指定initrd初始化内存镜像的位置;
- 在append命令中也可以指定其它的启动参数,比如安装源、键盘布局、用户名、时区、硬盘分区方案等等信息;
- 为了简化启动命令,可以将大部分启动参数都保存到一个文件中,将设置多个启动参数改为传输一个包含启动参数的配置文件;
- 另外,在安装操作系统时,每一步操作,无论是输入、还是项目选择、还是按钮点击,都可以保存到文件中,让安装程序按照文件中的内容去设置安装所需的信息,这个文件就叫应答文件,如果将人工操作全部保存下来,只需要这个文件就可以自动安装系统,这就是无人值守实现的原理。
1. CentOS
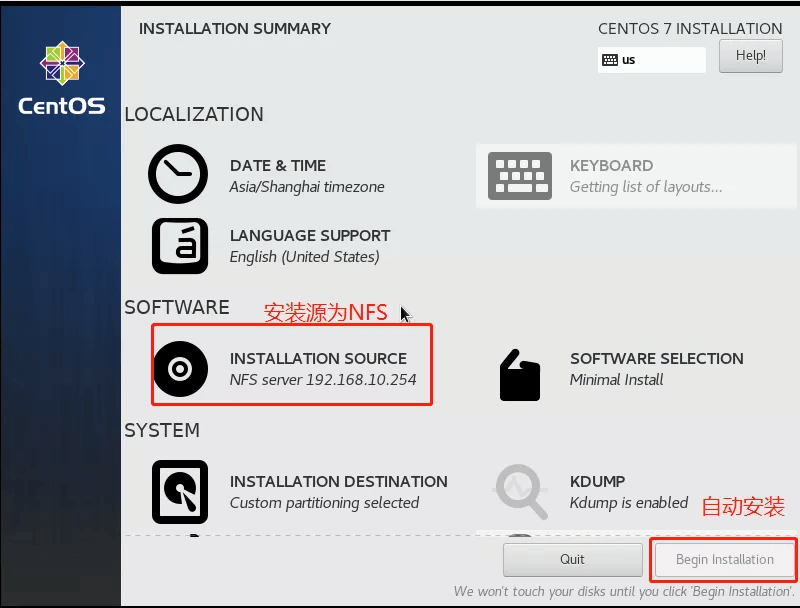
append initrd=disks/centos7/images/pxeboot/initrd.img method=nfs:192.168.10.254:/opt/tftp/disks/centos7 devfs=nomount ks=nfs:192.168.10.254:/opt/tftp/centos7-ks.cfg- method用于指定系统安装文件位置,centos7目录中存放的是操作系统镜像提取出来的文件,用nfs发布,供pxe客户端读取;
- ks参数指定无人值守的应答文件,centos使用的是kickstart文件,当中记录了安装步骤中的文字输入、按钮点击、项目选择等详细应答;
- centos在安装完成后,会在用户家目录下生成一个anaconda-ks.cfg文件,这个文件是根据此次安装所有步骤的对应操作自动生成的kickstart文件,用它进行系统应答时,和本次安装手工操作结果等效。
install
lang en_US.UTF-8
keyboard us
bootloader --location=mbr --driveorder=sda --append="crashkernel=auto rhgb quiet"
network --bootproto=dhcp --device=eth0 --onboot=yes --noipv6 --hostname=CentOS7
timezone --utc Asia/Shanghai
rootpw 123456
clearpart --all --initlabel
part /boot --fstype xfs --size 1024
part swap --size 1024
part / --fstype xfs --size 1 --grow
firstboot --disable
selinux --disabled
logging --level=info
reboot

%packages
@^minimal
%end

%post
%end
2. Ubuntu
- 区别于centos的kickstart,debian installer使用preseeding应答来进行无人值守设置(kickstart也可以用,但是preseeding更完善,兼容性更好);
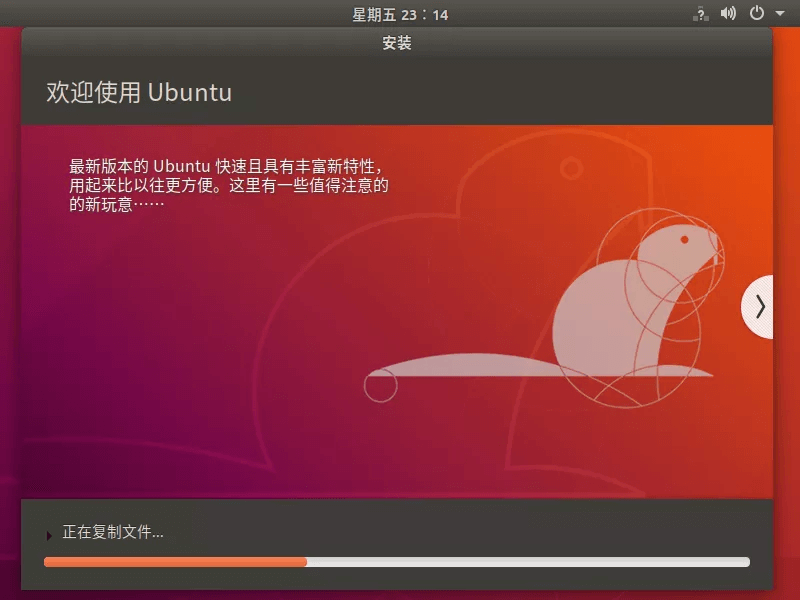
- debian installer将在kali的安装过程中演示,Ubuntu安装时采用光盘中的Ubiquity引导;
- 在引导命令中,可以使用url参数指定网络来源的preseed.cfg文件,或用file指定安装介质本地的preseed.cfg文件;
- 如果不使用debian installer,而是使用ubuntu安装光盘中的casper引导Ubiquity程序,疑似不能识别引导参数中的url参数(url=tftp://192.168.10.254/ubuntu-preseed.cfg)
- preseed.cfg中的参数可以提取出来,放到引导命令中,比如在配置文件中设置地区时,使用d-i time/zone string Asia/Shanghai,和在引导参数中加入time/zone=Asia/Shanghai是等效的,因为尝试了很多次都没能在Ubiquity中使用preseeding,所以干脆我就在Ubuntu引导里不使用无人值守文件,而是把文件中的参数全部放到引导命令中,所以引导命令才会这么长
append initrd=disks/ubuntu1804/casper/initrd vga=788 console-setup/ask_detect=false kbd-chooser/method=us keyboard-configuration/modelcode=SKIP netcfg/get_hostname=hostnetcfg netcfg/get_domain= partman-auto/disk=/dev/sda partman-auto/choose_recipe=atomic partman-auto/method=regular partman-lvm/device_remove_lvm=true partman-md/device_remove_md=true partman-partitioning/confirm_write_new_label=true partman/choose_partition=finish partman/confirm=true partman-lvm/confirm_nooverwrite=true time/zone=Asia/Shanghai passwd/user-fullname=usr passwd/username=usr passwd/user-password=123456 passwd/user-password-again=123456 keyboard-configuration/layout=USA pkgsel/include=openssh-server keyboard-configuration/variant=USA debconf/frontend=noninteractive boot=casper automatic-ubiquity country=CN language=en locale=zh_CN.UTF-8 auto netboot=nfs nfsroot=192.168.10.254:/opt/tftp/disks/ubuntu18043. Kali
- debian-installer是debian家族操作系统通用的一种网络引导方式,包括上文的ubuntu安装其实也可以使用;
- url方式指定安装位置时,既可以用http也可以用tftp,因为使用tftp可以少安装一个http服务,所以本例中使用url=tftp://192.168.10.254/kali-preseed.cfg;
- 安装过程中有一些操作在加载preseed.cfg文件之前就需要进行,所以直接写在引导参数中,避免因为这些步骤弹出提示中断自动安装过程。
d-i debian-installer/locale string zh_CN
d-i debian-installer/language string en
d-i debian-installer/country string CN
d-i debian-installer/locale string en_GB.UTF-8
d-i localechooser/supported-locales en_US.UTF-8, nl_NL.UTF-8, zh_CN.UTF-8
d-i console-setup/ask_detect boolean false
d-i keyboard-configuration/layoutcode string us
d-i netcfg/choose_interface select auto
d-i netcfg/get_hostname string ubuntu1804
d-i netcfg/get_domain string workgroup
d-i mirror/protocol string http
d-i mirror/country string manual
d-i mirror/http/hostname string mirrors.ustc.edu.cn
d-i mirror/http/directory string /kali
d-i mirror/http/proxy string
d-i mirror/http/mirror select mirrors.ustc.edu.cn
d-i mirror/suite string kali-rolling
d-i clock-setup/utc boolean true
d-i time/zone string Asia/Shanghai
d-i clock-setup/ntp boolean true
d-i partman-auto/method string regular
d-i partman-lvm/device_remove_lvm boolean true
d-i partman-md/device_remove_md boolean true
d-i partman-lvm/confirm boolean true
d-i partman/confirm_nooverwrite boolean true
d-i partman-auto/choose_recipe select atomic
d-i partman-partitioning/confirm_write_new_label boolean true
d-i partman/choose_partition select finish
d-i partman/confirm boolean true
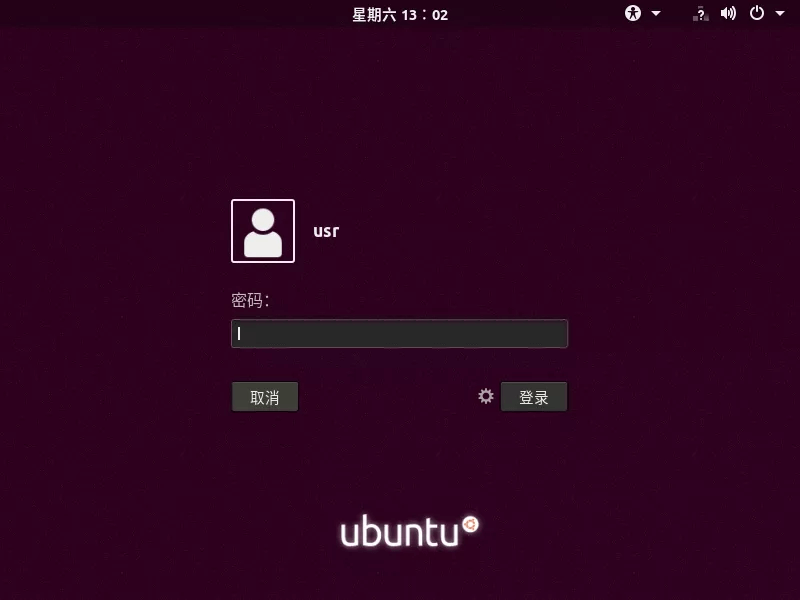
d-i passwd/user-fullname string usr
d-i passwd/username string usr
d-i passwd/user-password password 123456
d-i passwd/user-password-again password 123456
d-i user-setup/allow-password-weak boolean true
d-i passwd/user-default-groups string audio cdrom video
d-i user-setup/encrypt-home boolean false
d-i grub-installer/bootdev string default
tasksel tasksel/first multiselect standard system utilities, meta-default, desktop-xfce
d-i pkgsel/upgrade select full-upgrade
d-i pkgsel/update-policy select none
d-i pkgsel/updatedb boolean true
d-i finish-install/reboot_in_progress note五、系统安装
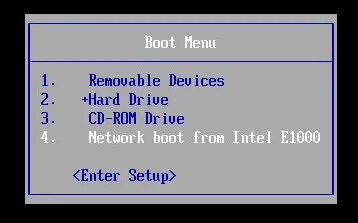
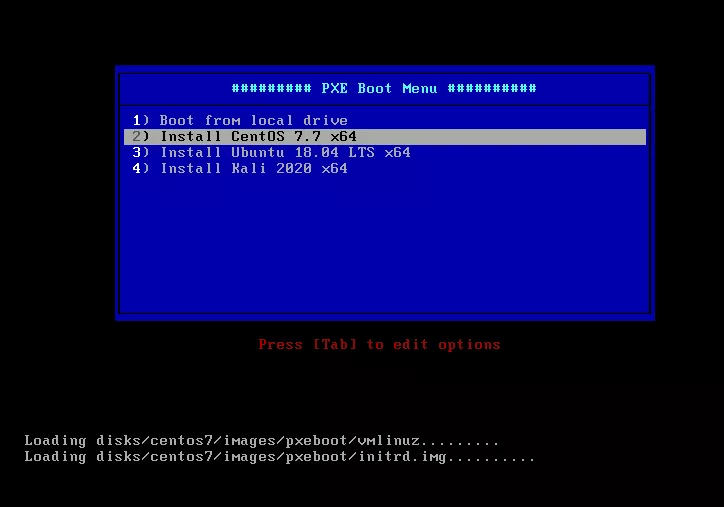
1. 使用PXE引导、以及引导菜单

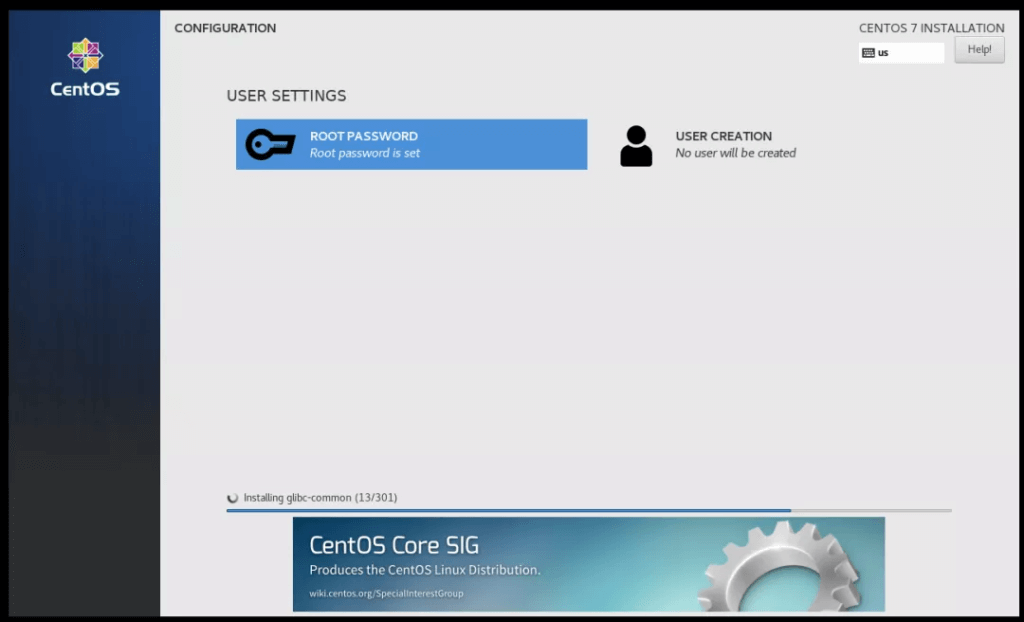
2. CentOS
3. Ubuntu
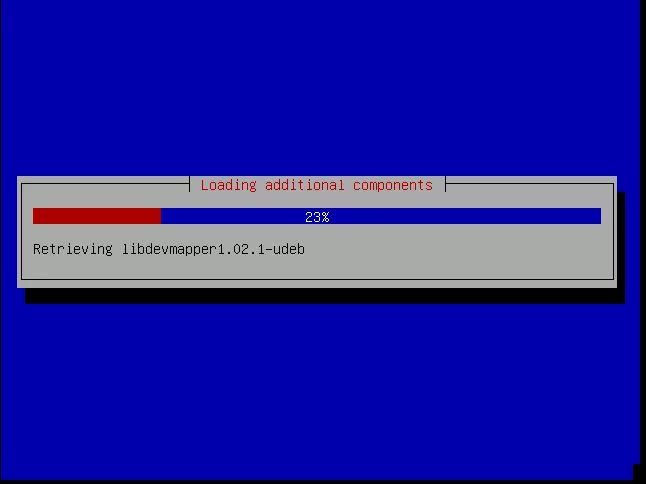
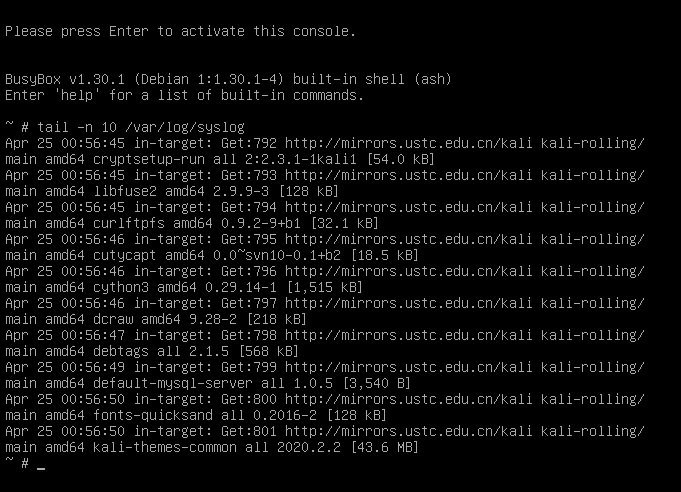
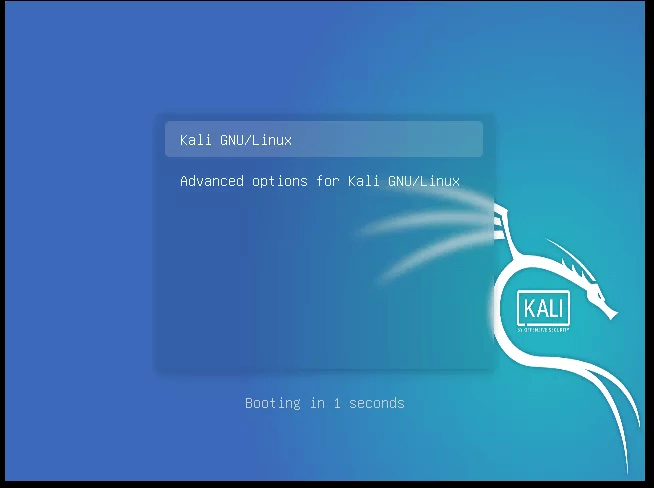
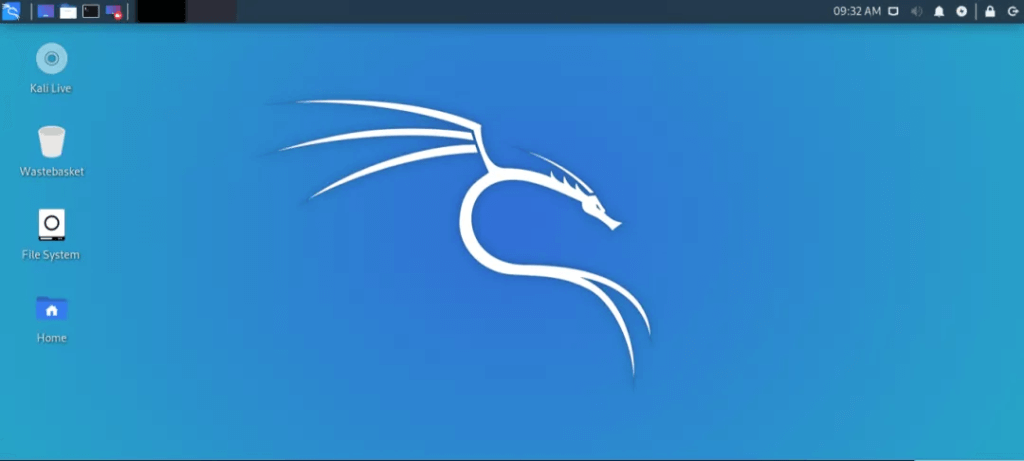
4. Kali